Introduction: Recover Lost Photos with File Recovery Tools
This guide will walk you through the process of recovering lost or deleted photos using a file recovery tool. Whether you accidentally deleted photos or lost them due to a system crash, this step-by-step tutorial will help you restore your precious memories.

Prerequisites & Setup
Before starting, ensure you have the following:
- A compatible device (Windows PC, Mac, or smartphone).
- The file recovery software installed (e.g., Disk Drill, Recuva, or EaseUS).
- Sufficient storage space to save recovered files.
- Access to the drive or device where the photos were stored.
Core Step-by-Step Guide
Step 1: Install the File Recovery Software
First, download the file recovery software from the official website. Follow the installation prompts to install it on your device. Once installed, you’ll see a shortcut icon on your desktop or in your applications folder.
Step 2: Launch the Software and Select the Drive
Open the software by double-clicking the icon. Upon launching, you’ll see a list of available drives or devices. Select the drive or device where the lost photos were stored, such as your SD card, internal storage, or external hard drive.
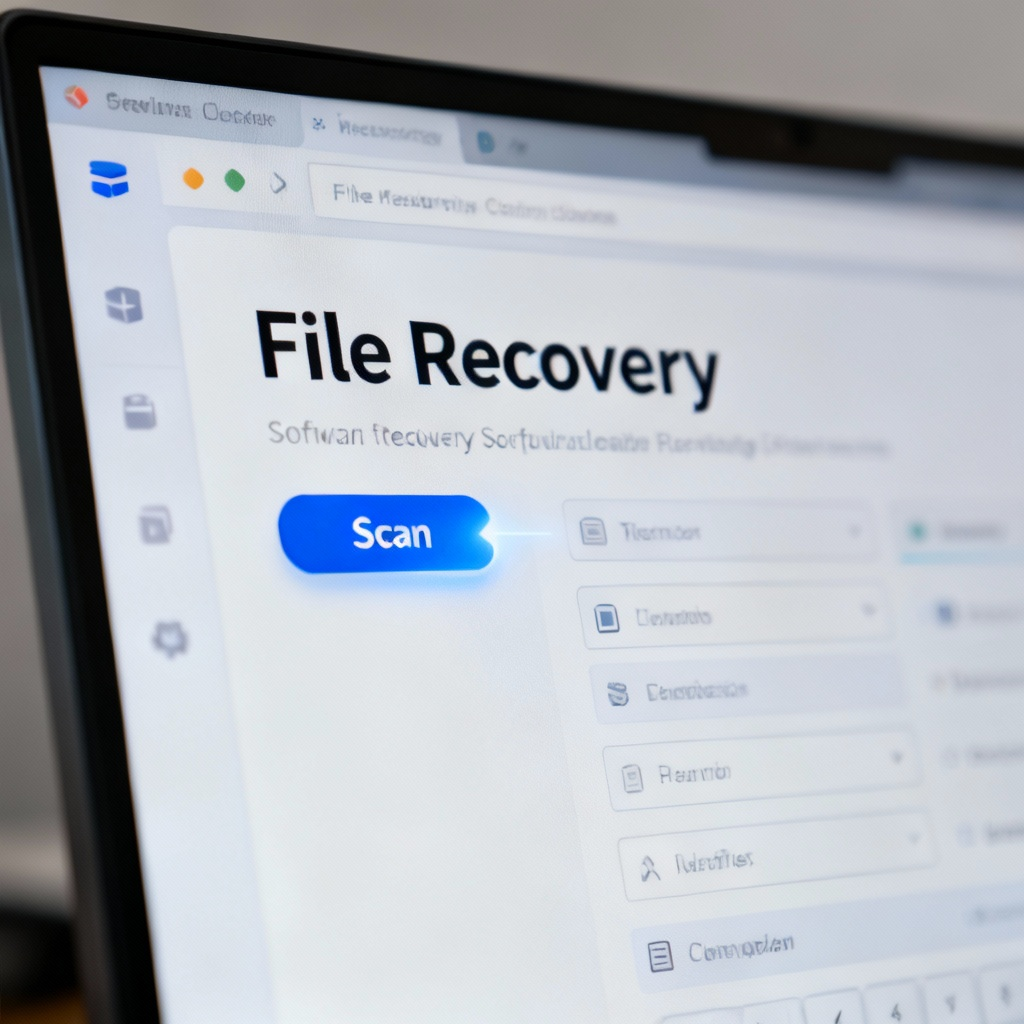
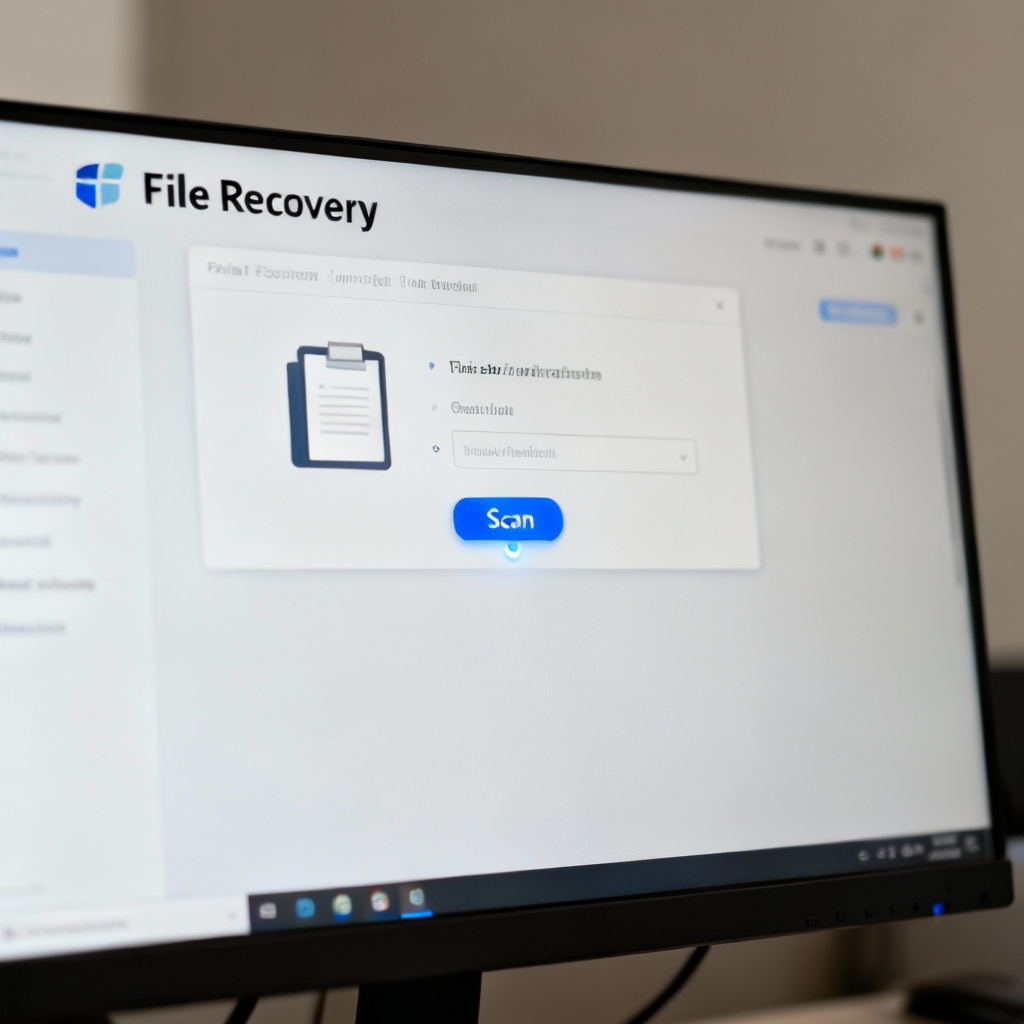
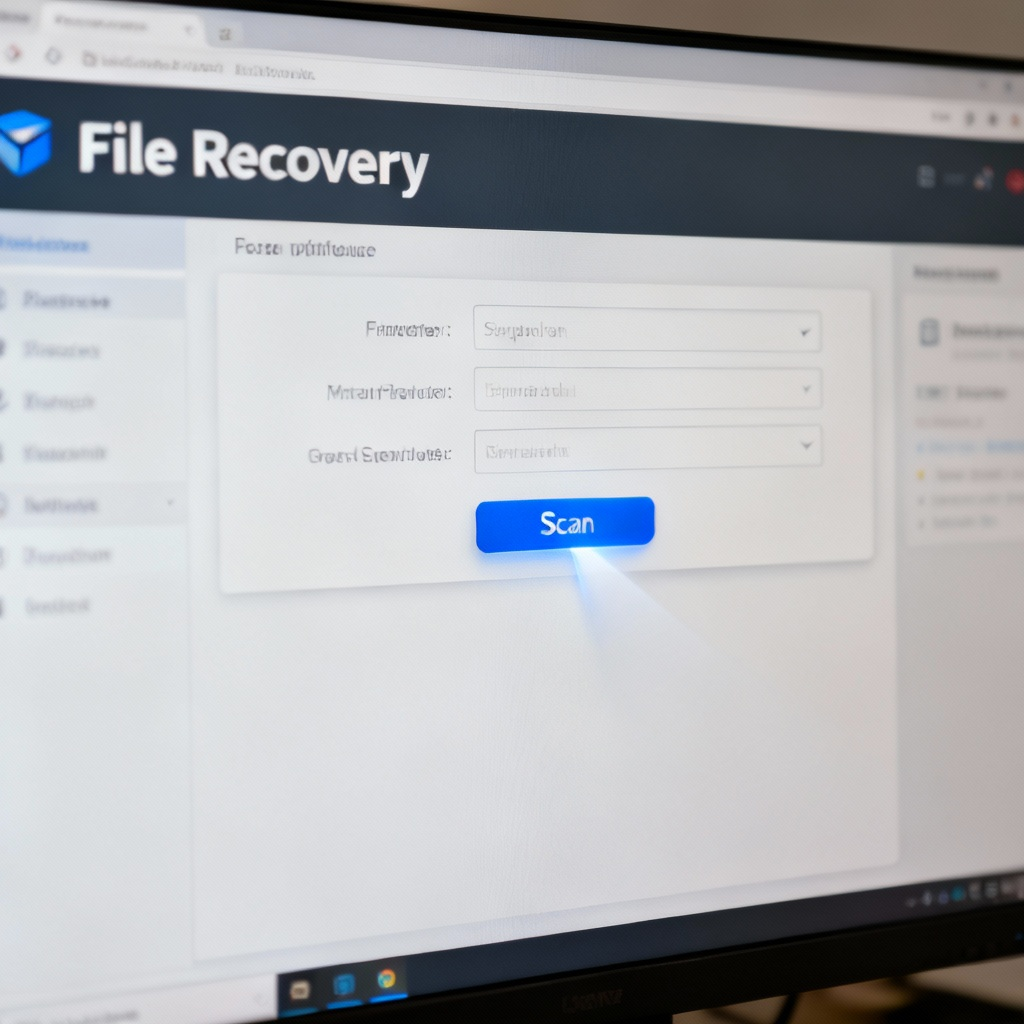
Step 3: Scan for Lost Photos
Click the Scan button to start searching for deleted or lost files. You’ll have the option to choose between a quick scan for recently deleted files or a deep scan for more thorough recovery. The scanning process may take a few minutes, depending on the size of the drive.
Step 4: Preview and Select Photos
Once the scan is complete, you’ll see a list of recoverable files. Use filters to narrow down results to image files (e.g., JPG, PNG). Preview the photos by clicking on them, then select the ones you want to recover by checking the boxes next to their names.
Step 5: Recover and Save Photos
Click the Recover button and choose a safe location to save the recovered photos. Avoid saving them to the same drive where they were lost to prevent overwriting. Once the recovery is complete, you’ll see a confirmation message indicating the process was successful.
Common Mistakes to Avoid
- Using the Same Drive for Recovery: Saving recovered files to the same drive can overwrite lost data. Always use a different storage location.
- Skipping the Preview Step: Failing to preview files may result in recovering unnecessary or corrupted files.
- Not Acting Quickly: The longer you wait, the higher the chance of permanent data loss due to overwriting.
FAQ
Q: Can I recover photos after formatting my SD card?
Q: What if the software doesn’t find my lost photos?
Q: Is it safe to use free file recovery software?
Q: Can I recover photos from a broken phone?
Final Checklist & Key Takeaways
- Checklist:
- Install the file recovery software.
- Select the correct drive or device.
- Run a scan and preview recoverable photos.
- Save recovered photos to a different location.
- Key Takeaways:
- Act quickly to avoid permanent data loss.
- Always save recovered files to a different drive.
- Use preview to ensure you recover the right files.
By following this guide, you’ll be able to recover lost photos efficiently and securely.
For more detailed information, visit File Recovery - Photo Recovery to explore advanced techniques and tools.